Ready to tackle your first motorcycle paint project? In Part One of this guide, we outlined the first three steps: theory, planning and the all-important prepping procedures, ending with a final coat of smooth spray putty.
This week, we’re laying down the paint itself, using aerosol cans. So grab those tins and let’s get cracking.
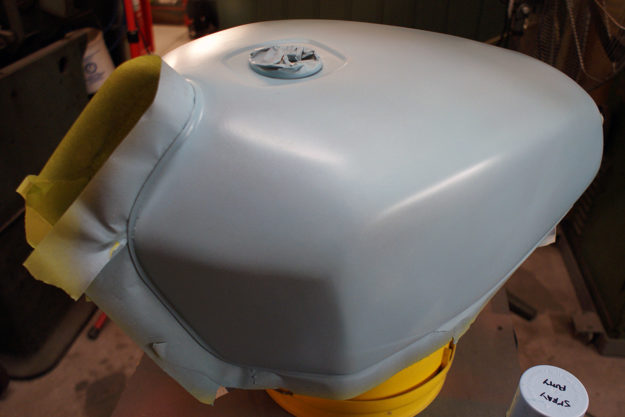
Step 4: Painting Let’s get into the spraying technique in detail. This will apply to primer, spray putty, paint and pretty much any other aerosol product. We’re picking up from where we left off last time, with a smooth coat of spray putty, and will finish with the classic Stars and Stripes design shown below.
Your objective is to apply a consistent thickness of product over the surface. On a high-end spray rig, you can set the air pressure and fluid flow to achieve the ideal spray pattern. But with an aerosol, you don’t have this luxury—you have to work with whatever spray pattern comes out the can.
What you can control is the angle of the can, how far away you hold it, and how fast you move it. These three factors combined will determine the paint coverage on the surface you’re painting.
To achieve consistency, the spray needs to be kept perpendicular to the surface, a constant distance away from it, and moved at a constant speed. If the can is too far away, or you’re moving too fast, the paint will disperse more and result in a thinner coat. Closer or too slow, and you’ll end up with a thicker coat. And if you’re painting a curved surface—like a fuel tank—you need to keep these factors constant as you move around it.
Each aerosol brand and product will deliver a slightly different spray pattern, so spray a test pattern on some cardboard first. More expensive automotive aerosols might be fitted with a nozzle that delivers a fan, much like a spray gun, while cheaper aerosols will deliver a conical spray pattern. (I find the fan pattern helps to deliver a consistent surface covering.)

A spray test will also help you figure out how far away and how fast you’ll need to move, to coat the surface. On a vertical surface, too much paint will run and require more color sanding to repair—but light coats can easily be built up further. If you’re building up a solid color, who cares if it takes four coats to get it right?
Check the paint can instructions too. There might be a specific spray distance suggested, and wait times for re-coating, sanding and final cure. Your local weather conditions (both temperature and humidity) will of course also play a part in how your finish cures—so ask your paint retailer for advice if you are working during extreme weather.
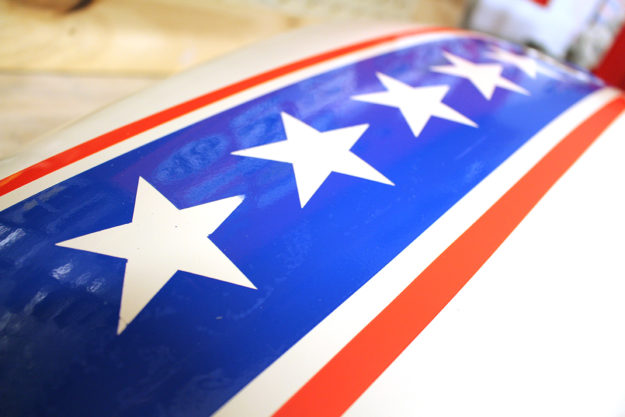
The design for my ‘sample’ motorcycle tank included a base cream color, a central blue stripe with cream stars down the center, and red accent stripes. So I needed to plan my steps in advance to achieve this finish.
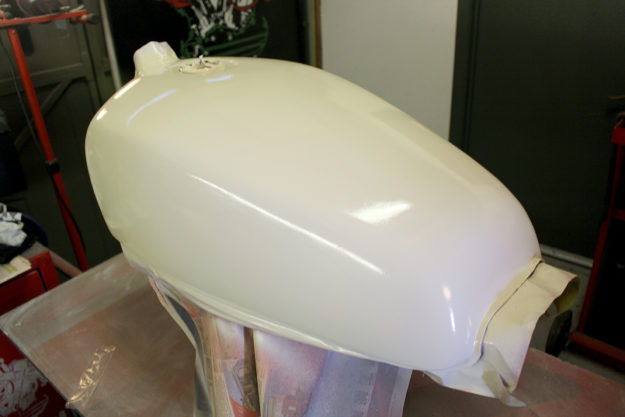
I kicked things off with three coats of the base cream color. Then I printed out some star shapes, and used them as a template to cut five identical stars out of masking film, which I pressed onto the cream surface.
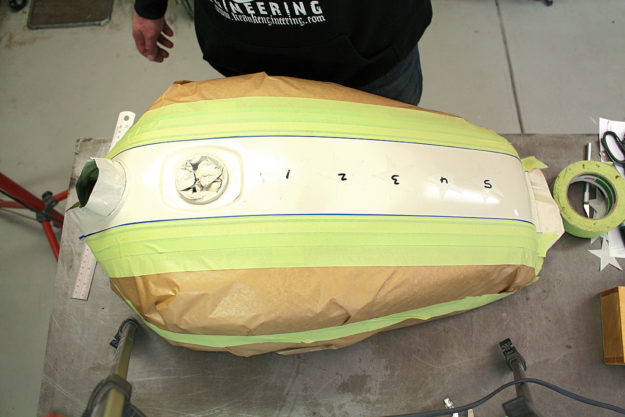
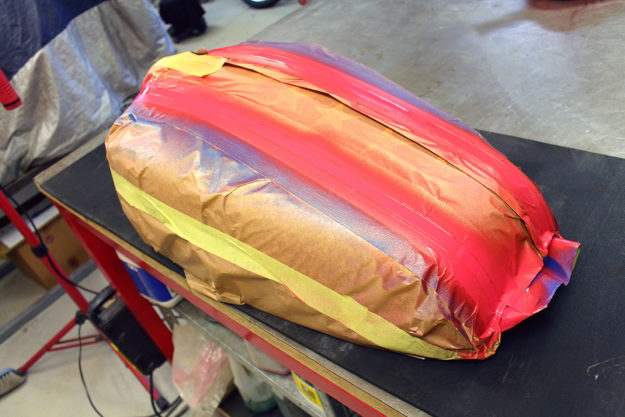
Using a good quality vinyl tape, I then laid down the edges of the blue stripe. This tape is specifically designed for painting and should prevent any bleed, leaving a crisp line on your surface. The rest of the tank I protected with masking paper.
Now it was time to shoot the blue stripe down the center. Once the paint had dried, I masked everything off again, leaving two stripes ‘open’ before hitting them with red paint.
It was pretty nerve-wracking peeling all the masks and vinyl tape off! The finish isn’t show-class, but I’d be happy to paint something like this on my own project bikes.
Step 5: Color sanding and polishing Once the paint finish is completely cured, you might want to consider color sanding. There are a couple of reasons for this:
1. You might have minor blemishes in the finish that you want to remove.
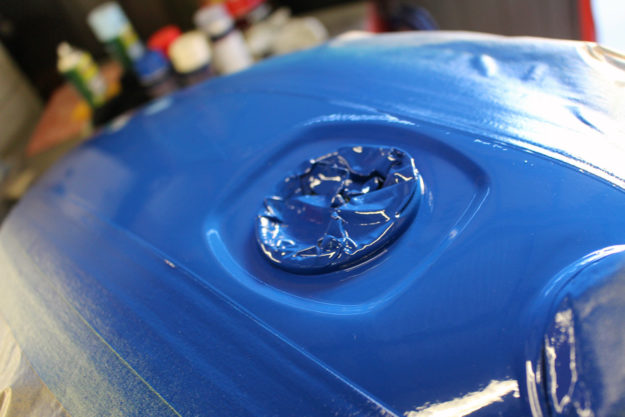
2. You might have an ‘orange peel’ finish that you want to smooth out, which is what happened on this project. ‘Orange peel’ is a mottling of the paint surface that literally looks like the peel of an orange under the right light. If you ask the internet, you’ll find a hundred explanations—mostly involving application technique, paint viscosity and spray rig preparation. Since we aren’t working with a proper spray rig, we have limited control.
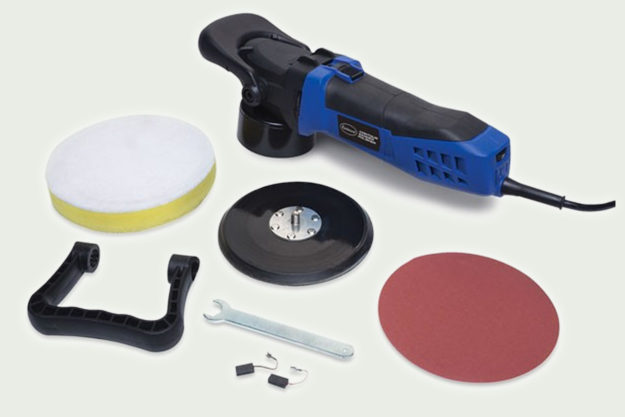
Before you consider color sanding, check with your paint supplier to confirm it’s compatible with the paint you are using. You’re also going to need rotary and random-orbital polishing machines, if you want to do a proper job.
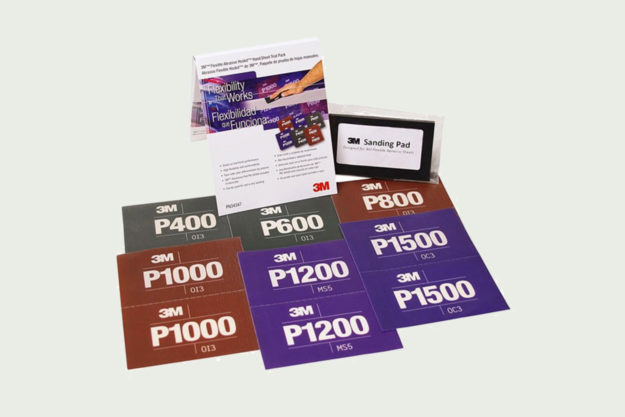
To achieve a glassy, super-smooth finish, you need to use finer and finer grades of abrasives, to smooth the surface to the point where any scratches and defects are too small for the human eye to distinguish.
This is the color sanding process I was taught by an auto manufacturer, for correcting defects and orange peel on new cars:
1. Wet sand with 1500 grit paper
2. Wet sand with 2000 grit paper
3. Rotary machine buff with cutting compound
4. Random-orbital machine buff with polishing compound
5. Apply protective wax
Wet sand with 1500 grit paper ‘Wet sanding’ literally means that the surface and abrasive paper are wet. This way the paint dust from sanding is carried off by the water, which reduces scratches on the painted surface.
To apply water, you can use a spray bottle, continually trickle water over the surface with a garden hose, hold the part under a trickle of water from a tap, or grab a bucket of water and continually dip the paper into it.
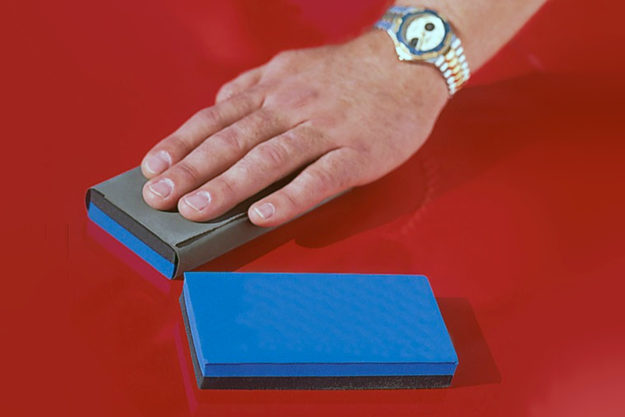
The color-sanding block we used in Part One is returned to service for this step, as you need the paper to conform to the shape of the surface you’re sanding. Using the 1500 grit paper on the block will take the ‘high spots’ off the paint, and you’ll see all the shine removed from the surface in the process.
Wet sand with 2000 grit paper Progressing to 2000 grit paper will smooth the 1500 grit sanded surface even further, making the scratches from the previous step finer.

Rotary machine buff with cutting compound Once you’ve sanded the surface with 2000 grit paper, it’s time to move to a liquid cutting compound (preferably a product designed for machine compounding). Your auto body supply store can recommend a system of products that will work well. I was taught with 3M products, so I’ll happily recommend their rubbing compound.
A rotary machine buff looks like a large angle grinder, but the spindle speed is much slower, and higher spec machines have variable speed controls. A slower speed reduces the chance of burning the paint from excessive heat. The machine buff might be fitted with a wool or foam buff, but the cutting compound is applied to the painted surface.
The rotary action and polish reduces the 2000 grit scratches even further, but the spinning action leaves swirl marks (light circular scratches) in the surface.
Random-orbital machine buff with polishing compound To remove the swirl marks left by the rotary buff, use a random-orbital machine with a foam pad and a liquid polishing compound.
The random-orbital polishing machine rotates and oscillates the pad at the same time. This ‘random’ motion, combined with a very fine abrasive in the polish, works to remove the circular scratches left by the previous step.
Apply protective wax Finally, you can protect the finely polish surface you have prepared with a wax. This can be applied and buffed off by either machine or hand.
Step 6: Enjoy! If you’ve followed along and painted your own garage art, test part or project bike, congratulations! Like me, you’ll probably have found that laying the paint was pretty straightforward—but getting the finish smooth and straight was a big task.
My aim here is to give you the confidence to start tackling a simple motorcycle painting project—so get out there and have a go! You might find that you have a knack for it.
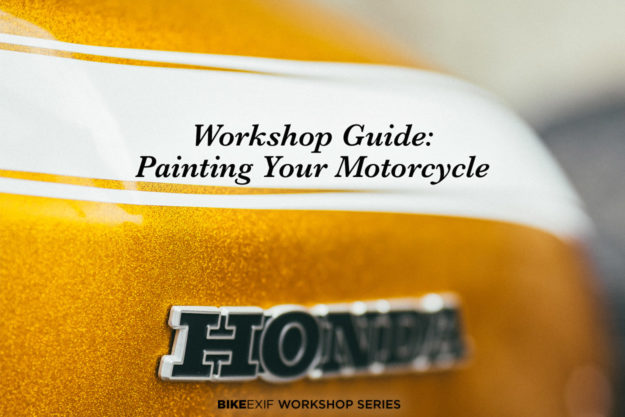
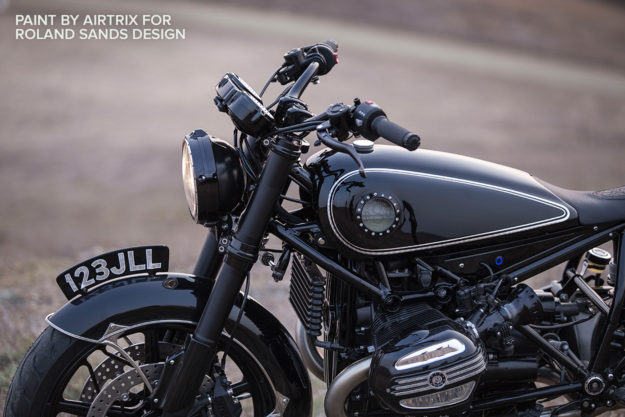
Ready to start painting? Click here to get Matt’s painting supplies and consumables shopping list. Cover shot: Rawhide’s ‘Golden Goose,’ painted by Jack ‘Pacman’ McCann.